

How to Tie the Pink Squirrel | Northwoods Variation Trout Nymph
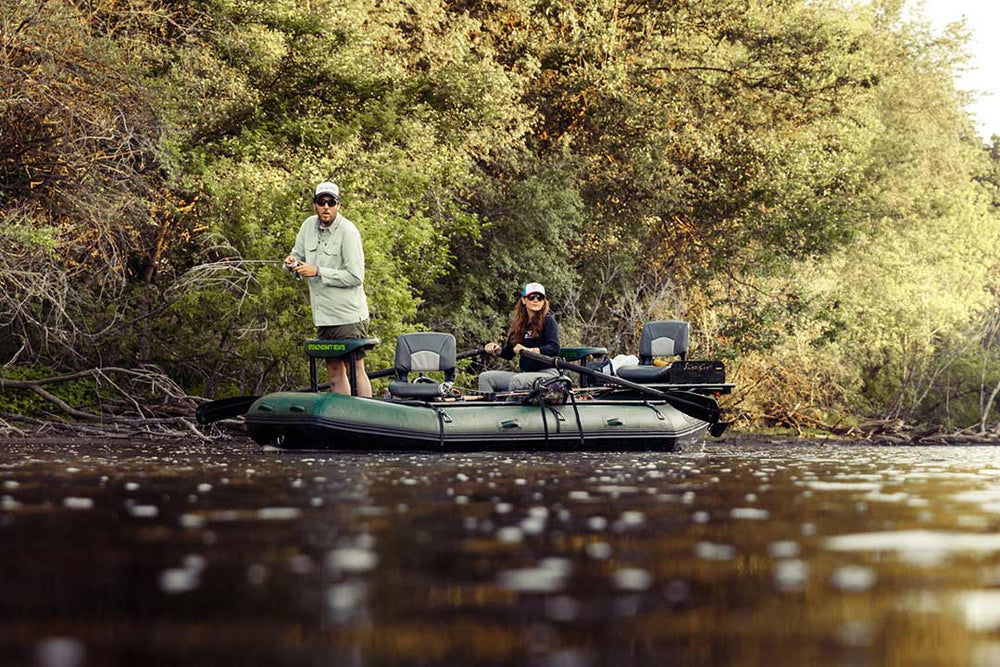
The Pink Squirrel is a legendary trout nymph originally designed by John Bethke as an attractor pattern for Wisconsin’s Driftless Area. Over the years, it has become a favorite among fly anglers, especially in colder months when trout are more selective.
In this step-by-step guide, I’ll walk you through tying the Pink Squirrel | Northwoods Variation, a simple yet highly effective fly pattern that every angler should have in their box. Fly tying tutorial here.
Materials List
Before you begin, gather the following materials:
-
Hook: Umpqua TMC 2488, Size #12
-
Bead: Spirit River Hot Tungsten Beads, Size 3.0mm, Polar White
-
Thread: UTC Ultra Thread, 70 Denier, White
-
Tail (Flash): Hareline Krystal Flash, Pink
-
Body Dubbing: Hareline Senyo's Laser Dub, Sculpin Olive
-
Ribbing (Wire): UTC Ultra Wire, Size: Brassie, Brown
-
Collar Dubbing: NMF Titan Dubbing - UV Bubblegum
-
Dubbing Wax (Optional): Any dubbing wax will do
-
Whip Finishing Tool
All materials for this fly are available here.
Step-by-Step Tying Instructions
1. Attach the Bead to the Hook
-
Grab your nymph hook and bead.
-
Locate the small hole in the bead and slide the hook point through it.
-
Move the bead up to the top of the hook, near the eye.
-
Secure the hook in your vise.
2. Lay Down the Thread Base
-
Start your thread behind the bead and make smooth wraps down the hook shank.
-
Stop wrapping when you reach just past the hook point.
-
Trim off the excess thread.
3. Attach the Tail
-
Grab 3 strands of Hareline Krystal Flash in Pink.
-
Pinch them together and place them on top of the hook.
-
Make several secure wraps up and down to tie them in place.
-
Trim the excess tail material to your preferred length.
4. Secure the Wire Ribbing
-
Cut a 2–3-inch piece of UTC Ultra Wire in Brown.
-
Tie it in the same way as the tail, letting it hang loose for now.
5. Apply Dubbing Wax (Optional)
-
Apply a small amount of dubbing wax to your thread.
-
This helps secure the dubbing onto the thread more easily.
6. Build the Body with Dubbing
-
Grab a small clump of Hareline Senyo's Laser Dub in Sculpin Olive.
-
Pull apart small amounts and twist them onto the thread.
-
Wrap the dubbing around the hook shank, creating a tapered body.
-
Stop about 1/8 inch behind the bead.
7. Wrap the Wire Ribbing
-
Take the wire and wrap it around the body in the opposite direction of the thread wraps.
-
This reinforces the fly and adds durability.
-
Stop near the collar area and trim the excess wire.
8. Create the Collar
-
Apply a small amount of NMF Titan Dubbing - UV Bubblegum to the thread.
-
Wrap 3–4 times to build up the collar.
-
If needed, pull off excess dubbing to achieve the right taper.
9. Finish the Fly
-
Use a whip finishing tool to make two whip finishes behind the bead.
-
Cut your thread.
-
Trim the tail to your desired length.
-
(Optional) Give the fly a slight “haircut” to clean up excess fibers.
10. Your Fly is Ready!
That’s it! You’ve successfully tied the Pink Squirrel | Northwoods Variation. This pattern is a fantastic go-to fly for trout fishing and works exceptionally well in cold-water conditions.
Final Tips
-
Start with small amounts of dubbing—you can always add more.
-
Wrapping the wire in the opposite direction of the thread makes it more secure.
-
Try experimenting with different dubbing colors to match your local waters.
For all pink squirrels available at the shop, click here.
Want More Fly Tying Tutorials? If you enjoyed this tutorial, be sure to like, subscribe, and share with your fellow anglers. For all the materials used in this fly and more, visit Musky Fool!
Leave a comment